

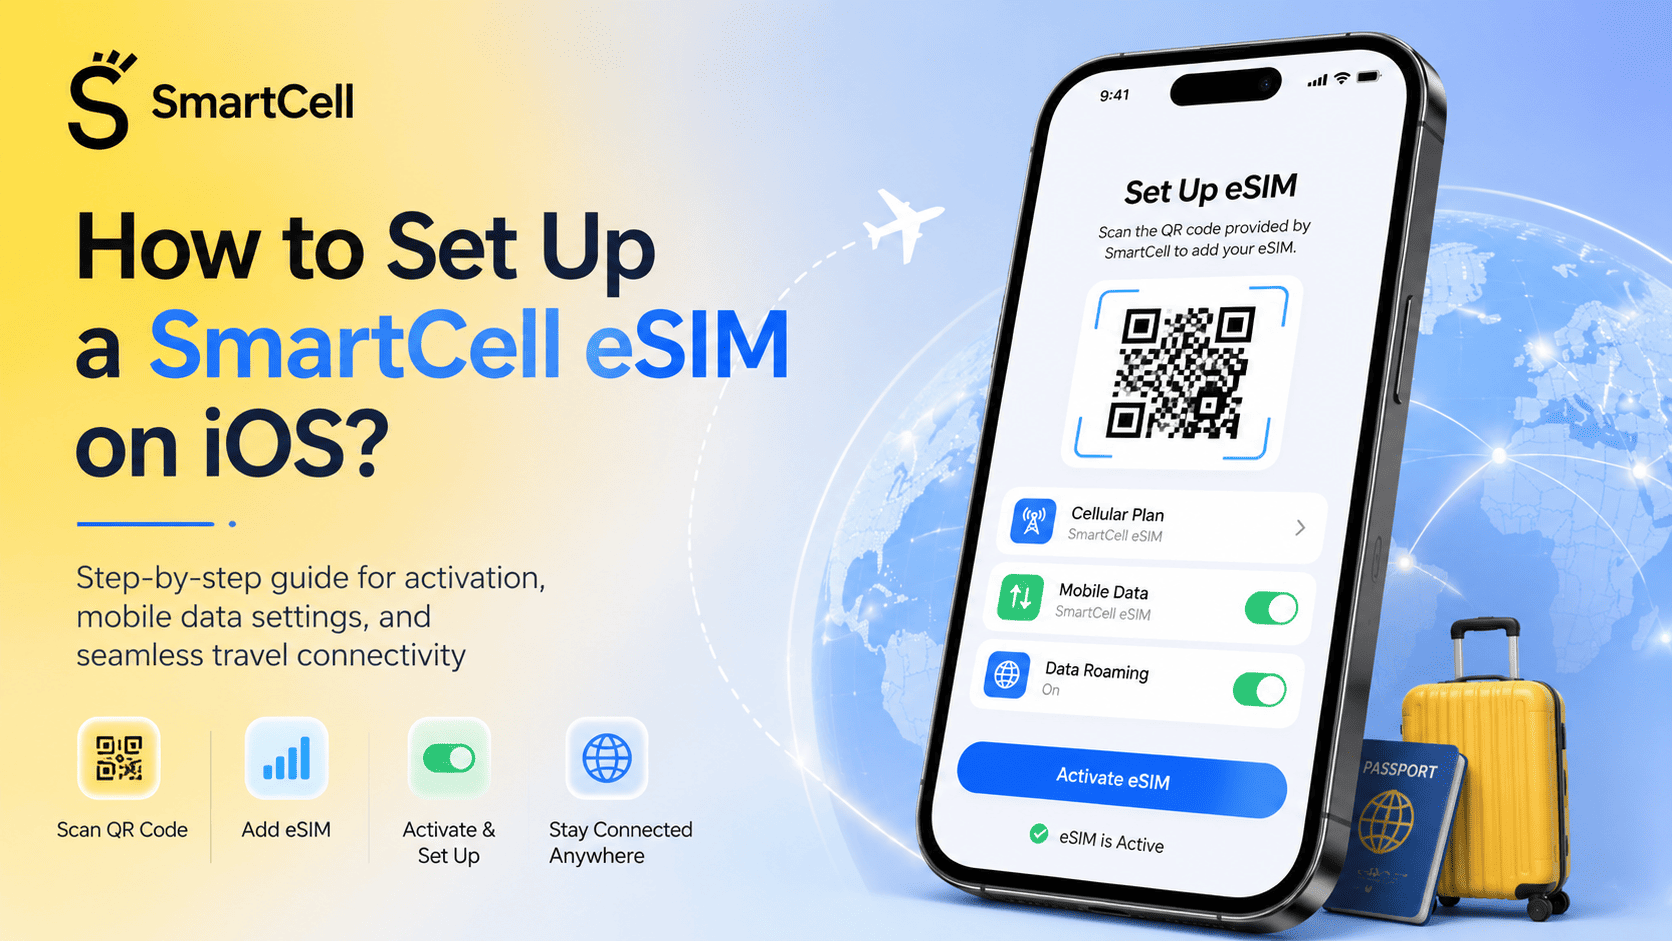
How to Set Up a SmartCell eSIM on iOS?
For Android devices, follow this link: https://smartcell.app/en/blog/how-to-set-up-smartcell-esim-on-android
To install SmartCell eSIM on an iPhone, you first need to select a suitable internet package in the app, complete the payment, and then activate the eSIM on your device. The steps below are explained according to the screens displayed in the SmartCell app.
Step 1: Select the Country in the SmartCell App
After opening the SmartCell app, go to the Destinations section on the home page. Here, you can search for the country you are travelling to and find the available eSIM packages. For example, when purchasing an eSIM for Georgia, you should enter and select the country name in the search section.

Step 2: Select a Suitable eSIM Package
Once the country is selected, the available eSIM packages for that destination will appear on the screen. The data allowance, validity period, and price of each package are displayed here. You can continue by tapping the Select button next to the package that suits your needs
.
Step 3: Check the eSIM Details
The details of the selected eSIM package will open. This section shows the package’s data allowance, validity period, and the country in which it is valid. The screen also displays whether the package supports features such as mobile internet, hotspot, top-up, and 5G.

Step 4: Apply a Promo Code, If Available
If you have a promo code, you can enter it in the Do you have a promo code? section. Once the code is applied, the discount amount is automatically deducted from the price. The updated final price will then appear on the screen.

Step 5: Continue With the Purchase After the Discount Is Applied
When the promo code is successfully applied, the package price is displayed with the discount included. At this stage, you can tap the Şimdi Satın Al — Buy Now button to continue with the purchase. The final amount to be paid will already be visible on the screen.

Step 6: Select a Payment Method
On the payment page, the details of your selected eSIM package are displayed once again. You then need to select a suitable payment method. To pay by card, select Stripe or Visa/Mastercard and tap the Continue to Payment button.

Step 7: Go to the eSIM Installation Screen
After the payment is completed, the eSIM Kurulumu — eSIM Installation / eSIM Setup section will appear in the eSIM details. This section includes a QR code and the eSIM Kur — Install eSIM / Set Up eSIM button. To activate the eSIM on your iPhone, tap the eSIM Kur — Install eSIM / Set Up eSIM button.\

Step 8: Confirm eSIM Activation on the iPhone
After tapping the eSIM Kur — Install eSIM / Set Up eSIM button, your iPhone will direct you to the eSIM activation screen. In the pop-up window, tap Etkinleştir — Activate to allow the eSIM to be added to your device. At this stage, the iPhone begins activating the eSIM by sharing the required eSIM information with the operator.

Step 9: Continue With eSIM Activation
The next screen will display eSIM’i Etkinleştir — Activate eSIM. This means that the new eSIM is ready to be activated. Tap Sürdür — Continue / Proceed to continue the process.

Step 10: Complete the Installation
At the final stage, the message Seyahat eSIM’i Ayarlama Tamamlandı — Travel eSIM Setup Completed will appear. This means that your SmartCell eSIM is now ready to use on your iPhone. Tap Bitti — Done to complete the installation.
Step 11: Label the eSIM to Avoid Confusing Your Packages
If you use multiple eSIM packages on your iPhone, it is important to give each package a separate name so that you do not confuse them. To do this, open Ayarlar — Settings on your iPhone and tap Hücresel — Cellular / Mobile Service. The installed eSIM packages will appear under the SIMs section. From here, tap the eSIM Ekle — Add eSIM package whose name you want to change.
For example, after selecting the SmartCell eSIM package you purchased for Georgia, open the Hücresel Plan Etiketi — Cellular Plan Label section. You can choose one of the available labels or tap Özel etiketi düzenle — Edit Custom Label and enter your own name. To make packages easier to distinguish, it is recommended to name the eSIM according to the country and date. For example: Georgia June 2026, Turkey June 2026, or Travel eSIM.
This step is especially useful for users who have eSIM packages for several countries on the same phone. By doing this, you can easily identify which package belongs to which country and avoid selecting the wrong mobile data line.
Tap sequence:
Ayarlar → Hücresel → SIM’ler bölməsi → eSIM paketinin üzərinə kliklə → Hücresel Plan Etiketi → Özel etiketi düzenle → Paketin adını yaz
Settings → Cellular / Mobile Service → SIMs section → Tap the eSIM package → Cellular Plan Label → Edit Custom Label → Enter the package name
For example, you can enter Georgia June 2026 as the name of your Georgia package and save it.


Step 12: Activate the Travel eSIM and Turn On the Line
After naming the package, you need to activate the eSIM so that it can work. Open Ayarlar — Settings on your iPhone and go to Hücresel — Cellular / Mobile Service. Then, under the SIMs section, tap the travel eSIM package you have just renamed. For example, if the package appears as Georgia June 2026, tap that eSIM.
On the page that opens, you will see the Bu hattı Etkinleştir — Activate This Line option. If the toggle is turned off, move it to the right to activate it. This step is essential for the eSIM line to work on your phone. If this option is not enabled, your internet connection may not work even though the package has been installed.
Tap sequence:
Ayarlar → Hücresel → SIM’ler → Georgia June 2026 / Travel eSIM paketi → Bu hattı Etkinleştir → düyməni aktiv et
Settings → Cellular / Mobile Service → SIMs → Georgia June 2026 / Travel eSIM package → Activate This Line → Turn the toggle on
The main purpose of this step is to ensure that the user does not only install the eSIM but also activates the line. After naming the travel eSIM, open its settings and enable Turn On This Line / Bu hattı Etkinleştir. Once this option is activated, the iPhone makes the eSIM package ready for use.
Step 13: Turn Off Wi-Fi and Check Whether the eSIM Internet Is Working
After activating the eSIM, turn off the Wi-Fi connection to check whether it is working correctly. Disable Wi-Fi on your iPhone and look at the mobile network indicator at the top of the screen. If LTE, 4G, or 5G appears at the top, it means that the SmartCell eSIM internet connection is active and working properly.
At this stage, open Ayarlar → Hücresel — Settings → Cellular / Mobile Service and check that the newly installed eSIM package appears as active. For example, in the screenshot, the newly added package appears as Georgia June 2026and is marked Açık — On. To prevent confusion, the newly installed eSIM package should be clearly highlighted in this section: Your newly installed eSIM package should appear here.
Tap sequence:
Wi-Fi-ni bağla → Ayarlar → Hücresel → SIM’lər bölməsi → Yeni yüklənən eSIM paketini yoxla
Turn off Wi-Fi → Settings → Cellular / Mobile Service → SIMs section → Check the newly installed eSIM package
If the LTE / 4G / 5G indicator appears after Wi-Fi is turned off, the eSIM is working successfully. If these indicators do not appear and the internet connection does not work, the user should contact the Support section through the SmartCell app or reach out to WhatsApp support. Providing the package name, country, and details of the problem will help the support team resolve the issue more quickly.

Step 14: Select the New eSIM as the Main Mobile Data Line
After activating the eSIM, you need to select it under Hücresel Veri — Cellular Data so that the internet connection uses the newly installed SmartCell eSIM package. On your iPhone, go to Ayarlar → Hücresel — Settings → Cellular / Mobile Service. Tap Hücresel Veri — Cellular Data at the top of the screen and select the newly installed eSIM package from the list.
For example, if your package is labelled Georgia June 2026, this exact name should be selected under Hücresel Veri — Cellular Data. Once selected, the iPhone will use the travel eSIM for mobile internet. This allows the user to easily see which eSIM package is currently active for data usage.
Tap sequence:
Ayarlar → Hücresel → Hücresel Veri → Georgia June 2026 seç
Settings → Cellular / Mobile Service → Cellular Data → Select Georgia June 2026
To highlight the new eSIM in this section, it is not enough to simply name it. You must also select it under Hücresel Veri — Cellular Data. Once selected, the package name will appear next to Hücresel Veri — Cellular Data on the Cellular settings page. As shown in the screenshot, if Hücresel Veri — Georgia June 2026 is displayed, this means that the eSIM is currently being used for internet access.

What Should You Do After Installation?
After installing the eSIM, go to the Hücresel — Cellular / Mobile Service section of your iPhone and check that the SmartCell eSIM line is active. To use the internet while travelling, select the SmartCell eSIM as the mobile data line. Enable Data Roaming when required so that the package works properly abroad.
Conclusion
To install SmartCell eSIM on an iOS device, you first select a country and package in the app, complete the payment, and then activate the eSIM on the iPhone. Once the process is complete, the eSIM line becomes ready on the device, allowing you to use mobile internet conveniently while travelling.